You press the power button like you do every day, but your PC simply refuses to boot. Don’t worry; while the causes behind “won’t boot” problems vary, it’s fixable. Work through these methods in order. You probably won’t need them all.
Fixes to try:
- Check the power cord and the power outlet
- Reset your BIOS settings to default
- Perform a Hard Shut Down
- Reinstall your hardware
Fix 1: Check the power cord and the power outlet
If your computer won’t turn on at all, and there are lights on the screen or the PC case, that’s probably a power supply issue rather than a computer issue. In this case, there are a few things you should check:
- Test the wall outlet is working by plugging in another electronic device, such as a lamp or phone charger.
- Unplug the power cord from the wall outlet, then plug it back in. Make sure both ends of the power cord are securely in place.
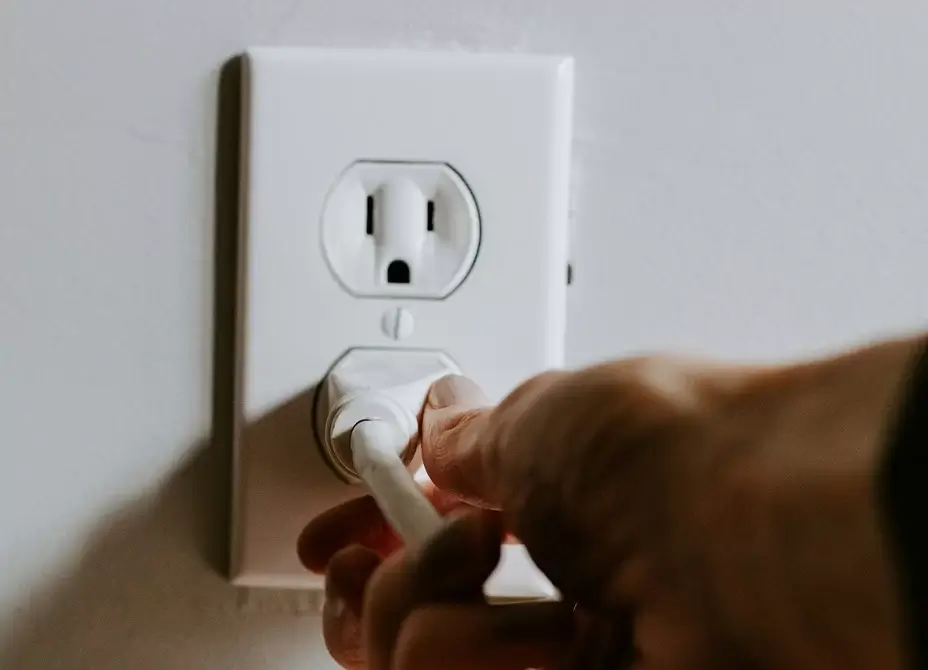
- Or, if you have a spare power cord available, try using the new cable.
Restart your computer to test your issue. If your system stays off, move on to the next fix.
Fix 2: Reset your BIOS settings to the default
Incorrect BIOS settings, especially after hardware changes, can prevent your computer from starting properly. Resetting the BIOS clears those settings. Here is how to do it:
- Shut down the PC and unplug the power cord.
- Open the case and locate the CMOS battery (a small, round, silver coin-cell battery).
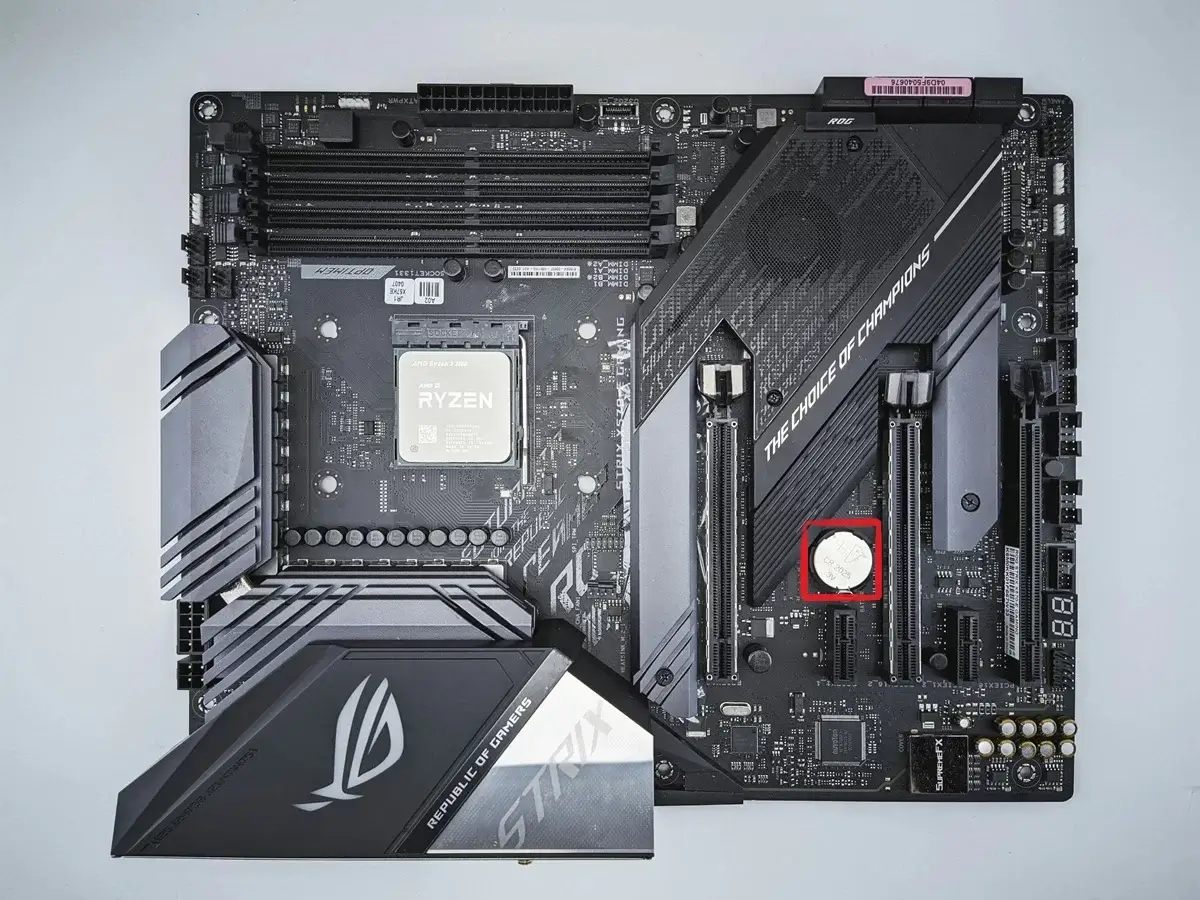
- Carefully remove it with your fingernail or a non-metal tool.
- Wait about 5 minutes, and then reinstall your CMOS battery.
- Connect the AC power cord to the power supply, and then try turning on your computer.
If it still won’t boot, continue to the next method.
Fix 3: Perform a Hard Shut Down
In my case, when I pressed the Power button, Windows attempted to load but ended up stuck on the loading screen. I finally resolved this by force-shutting down the PC and booting into Recovery Mode. Follow the instructions below to see how to do it:
- Hold the Power button down for 5 or 10 seconds until the computer turns off.
- Force shut down the PC twice.
- On the third start, Windows will boot into the Recovery Environment.
- Go to Troubleshoot > Advanced Options> Startup Repair and follow the prompts.
If this doesn’t fix the problem, move to the next step.
Fix 4: Reinstall your hardware
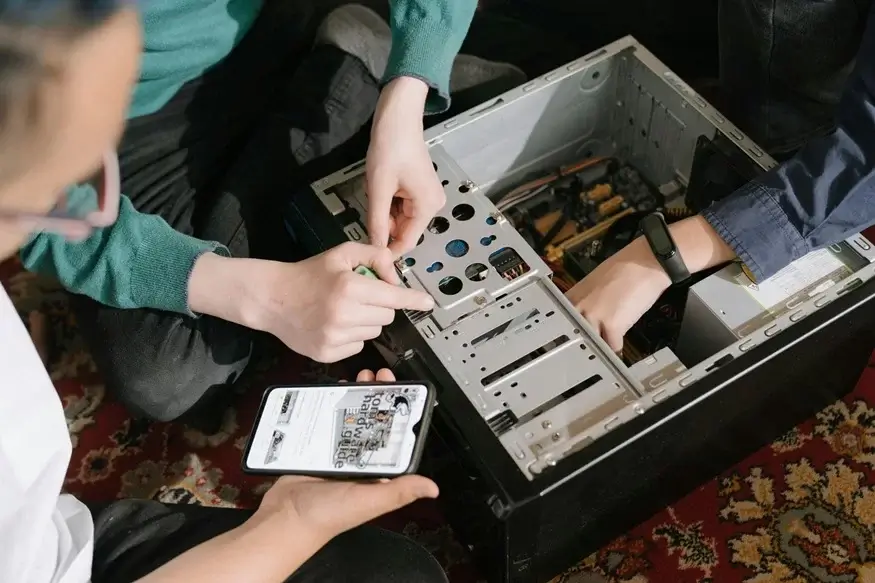
Loose RAM, graphics cards, or other components can break the power-on sequence. Reseating your hardware restores those connections. Here is how to do it:
- Turn off the PC and unplug the AC power cord from the power supply.
- Open the case and gently remove components such as RAM sticks, the GPU, or other add-in cards.
- Plug the PC back in and try turning it on without those components installed.
If your computer turns on (normally, without display), that means that one of the removed hardware components is the culprit. - Reinstall each part one at a time, testing after each install to identify the faulty component.
- Replace the failing part once you’ve identified it. Or, you can consult the manufacturer of the hardware for assistance.
If your computer still won’t boot at all, you may need to bring your computer to a repair store and seek professional help.
I hope one of these methods brought your PC back to life. If you’re still stuck or want help identifying the faulty part, drop a comment below, and I’ll do my best to guide you
Leave a Reply