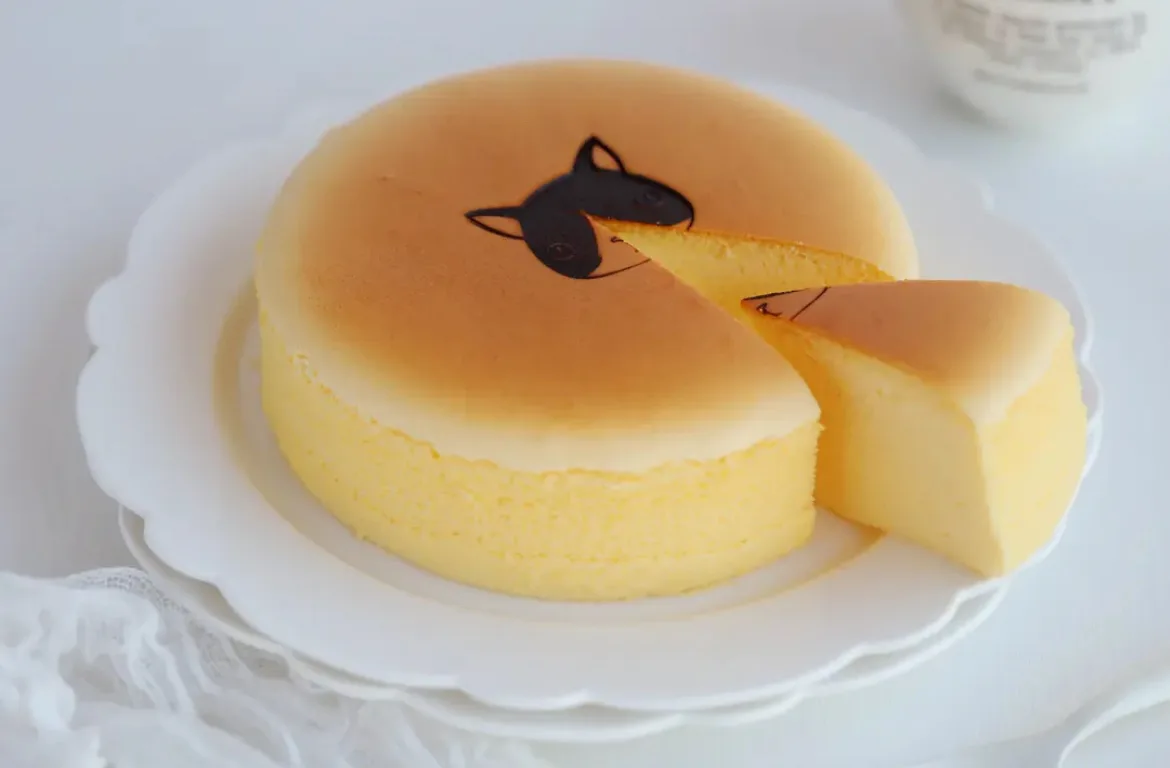
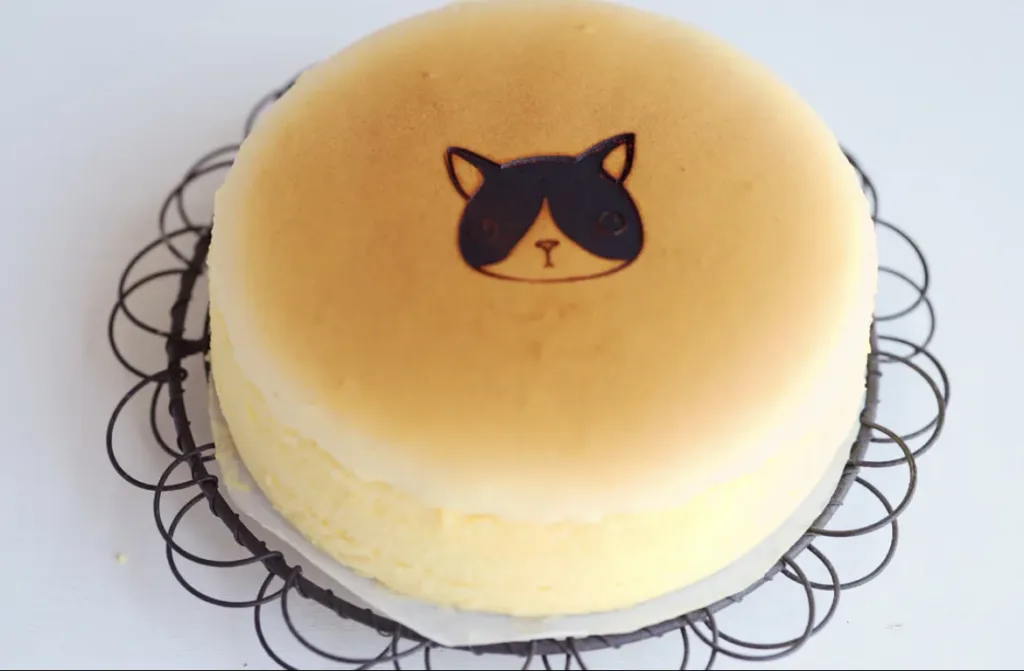
If you’re in the mood for a light, fluffy cheesecake, you’re in the right place.
Today I’m sharing my three favorite light cheesecake recipes. They’re all soft, slightly jiggly, and not too heavy, but each one has a slightly different vibe.
Recipe #1 is the simplest. It uses fewer ingredients and is very beginner-friendly. Recipe #2 is richer and creamier, with a stronger dairy flavor. And Recipe #3 includes yogurt, so it tastes lighter and fresher.
All three are gently sweet and airy. Honestly, you can’t go wrong with any of them. Just pick based on what you’re in the mood for or what you already have in the fridge.
All recipes are written for a 6-inch pan. If you want to make an 8-inch cake, just double everything.
Recipe #1: The Simplest Light Cheesecake
This is the one I recommend if you’re new to light cheesecakes. It’s forgiving and doesn’t require fancy ingredients.
| What you’ll need | |
|---|---|
| Cream cheese | 125g |
| Egg | 3 |
| Butter | 30g |
| Milk or water | 50g |
| Cake flour | 30g |
| Granulated sugar | 50g |
How to make it
Step 1: Separate the eggs
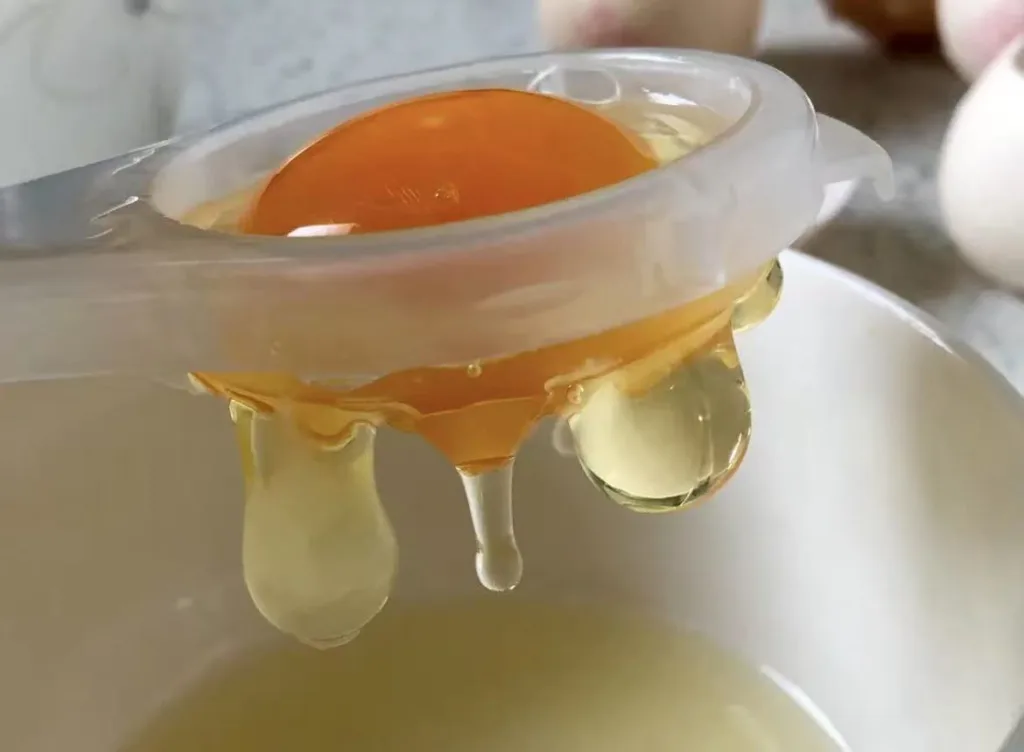
Carefully separate the egg yolks and whites. Place the egg whites straight into the fridge.
You can use an egg separator or clean, dry hands. Just make sure there’s no yolk in the whites, because even a tiny bit can make them difficult to whip. If any yolk slips in, remove it completely with a spoon.
Step 2: Soften the cream cheese
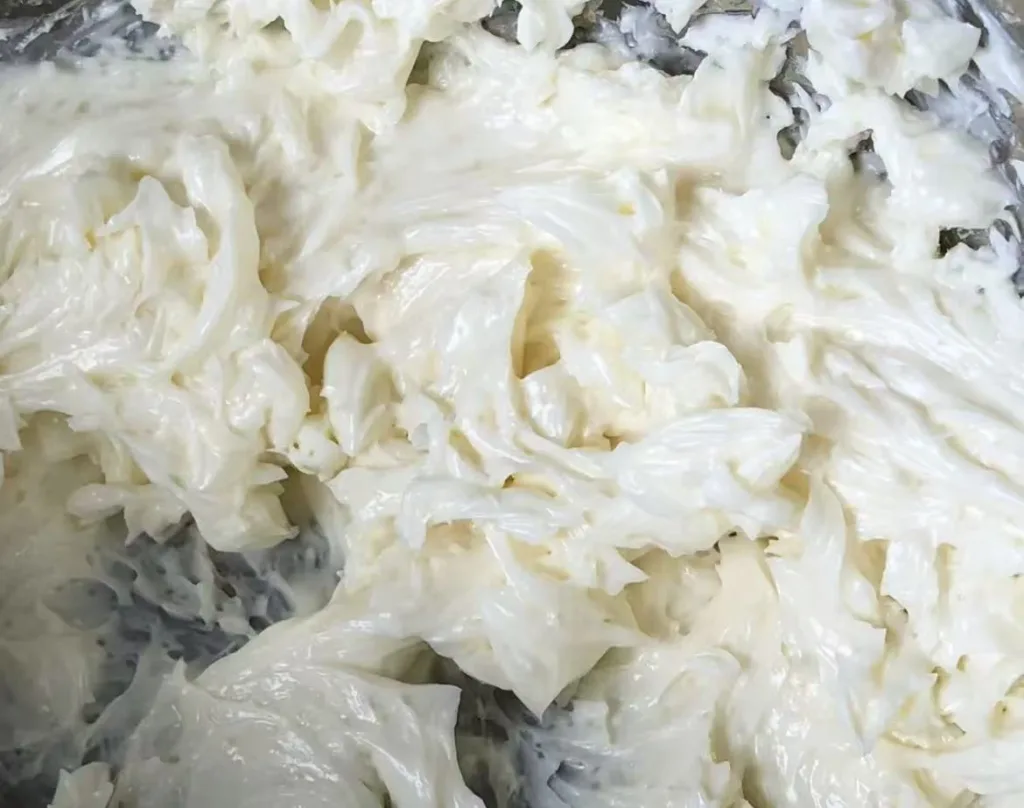
Let the cream cheese come to room temperature. If it’s cold or you’re short on time, microwave it on medium-low for about 30 seconds.
Cut it into chunks, place it in a bowl, and beat with a hand mixer until smooth and creamy.
Step 3: Add the egg yolks
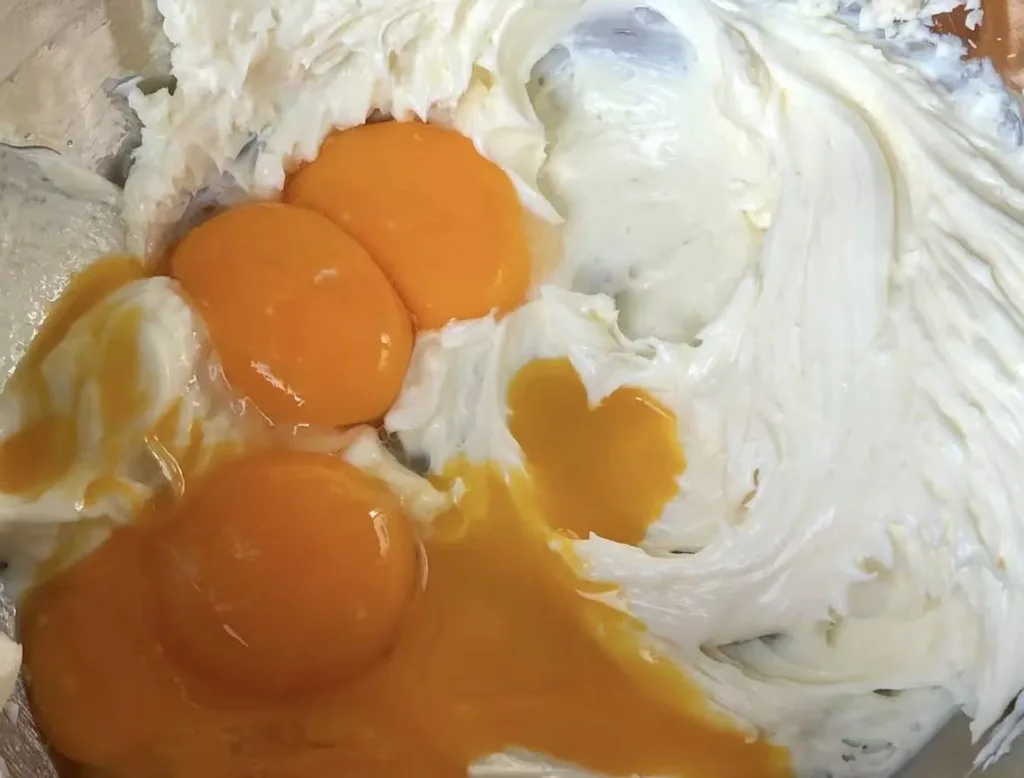
Add the egg yolks and mix until fully combined.
Step 4: Add milk
Slowly pour milk in while mixing.
Step 5: Add melted butter
Melt the butter (room temp, warm water bath, or microwave for about 15 seconds). Slowly pour it in while mixing.
Important: The butter should be just melted, not hot. If the bowl feels hot to the touch, let it cool first, or the yolks may scramble.
Step 6: Add the flour
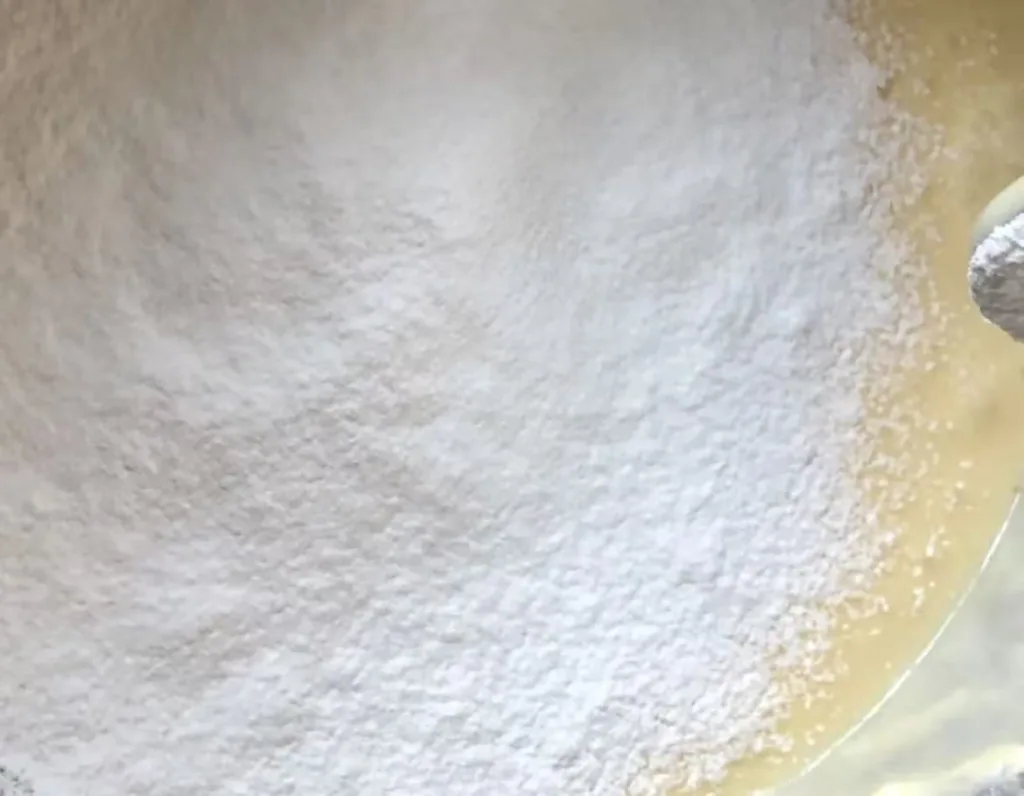
Sift in the cake flour and mix until smooth.
Step 7: Whip the egg whites
Take the egg whites out of the fridge. Whip while adding sugar in three stages:
- First ⅓ when bubbles are large
- Second ⅓ when bubbles become finer
- Final ⅓ when foam looks smooth
You can add sugar all at once, but adding it gradually makes whipping faster and more stable.
Whip until soft peaks with a big curved tip.
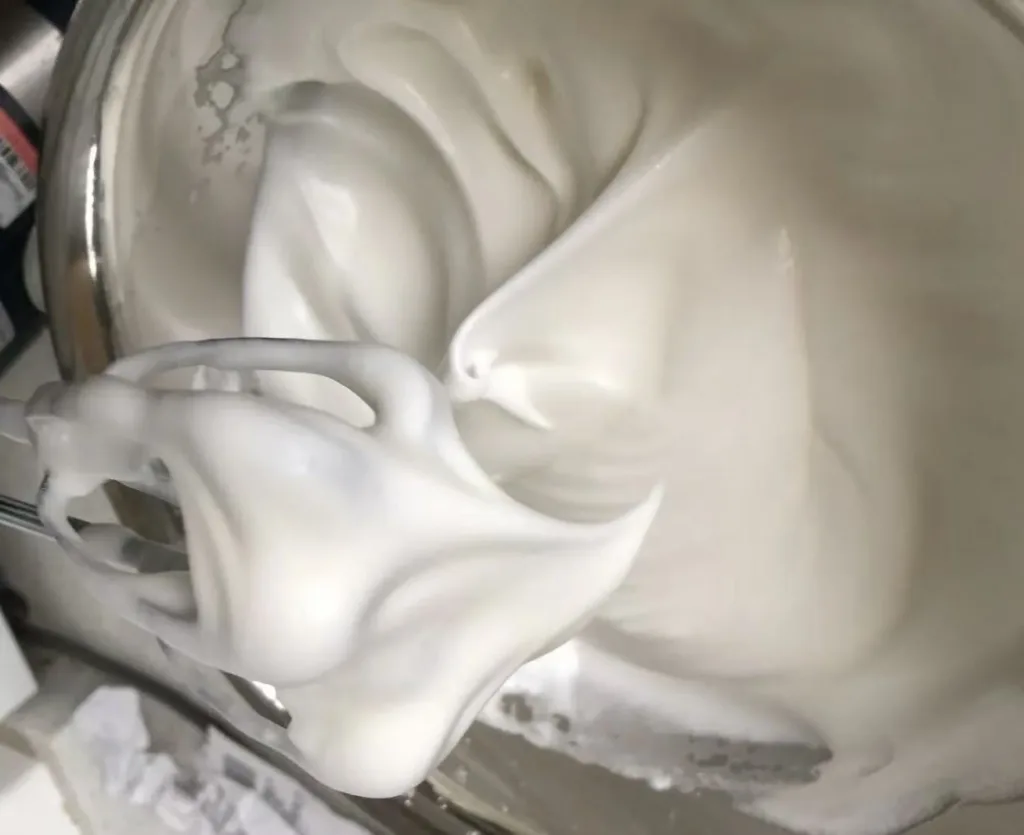
Try not to over-whip here. If the egg whites reach stiff peaks, the cake is more likely to crack.
Step 8: Fold gently
Fold ⅓ of the egg whites into the batter to loosen it. Then pour everything back into the remaining whites and fold gently but quickly.
Step 9: Prepare the pan
- Preheat oven to 150°C / 300°F
- Line the bottom of a 6-inch pan with parchment
- Grease the sides with butter
- Pour in the batter and tap the pan lightly 5 – 6 times to release large air bubbles.
Step 10: Bake
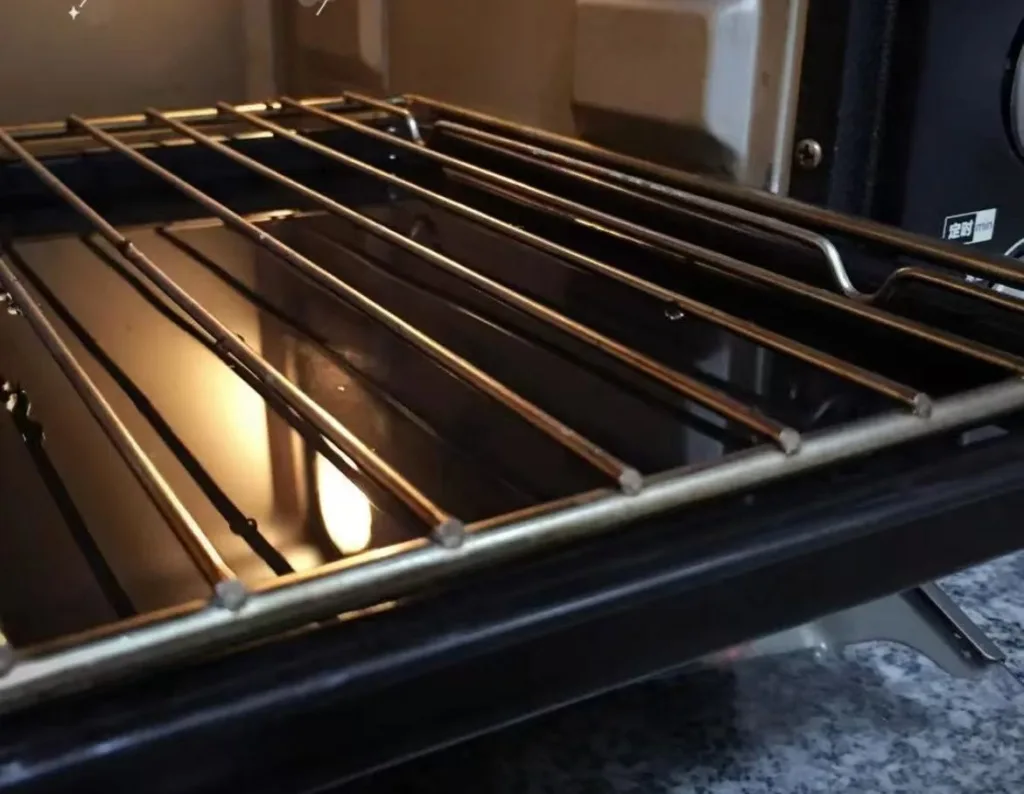
Bake using a water bath:
- Place the pan in a tray with about 1cm of hot water
- Bake for about 60 minutes on the middle-lower rack
If your pan has a removable bottom, don’t place it directly in water; set it on a rack over the water tray instead.
Step 11: Cool & chill
This cake is fragile when hot, so don’t rush it. Let it cool naturally, then refrigerate for at least 2 hours before slicing.
Recipe #2: Extra Creamy Version
This version has a deeper milk flavor and feels noticeably richer.
| What you’ll need | |
|---|---|
| Cream cheese | 125g |
| Egg | 2 |
| Yogurt | 75g |
| Heavy cream | 50g |
| Cake flour | 33g |
| Granulated sugar | 50g |
How it goes
The steps are almost the same as Recipe #1, with just a few ingredient changes.
Step 1: Separate the eggs
Separate the yolks and whites carefully, and place the whites in the fridge.
Make sure there’s no yolk in the whites. Even a small amount will affect whipping.
Step 2: Soften the cream cheese
Soften and beat the cream cheese until smooth and creamy.
Step 3: Add the egg yolks
Add the egg yolks and mix until fully combined.
Step 4: Add yogurt and cream
Mix in the yogurt and heavy cream until smooth and lump-free.
Step 5: Add the flour
Sift in the cake flour and mix until smooth.
Step 6: Whip the egg whites
Whip the egg whites while adding sugar in three stages, just like Recipe #1.
Whip until soft peaks with a big curved tip.
Avoid over-whipping to prevent cracking.
Step 7: Fold gently
Fold ⅓ of the egg whites into the batter, then gently fold everything back into the remaining whites.
Step 8: Prepare the pan
Preheat the oven to 150°C / 300°F, line the pan, grease the sides, and pour in the batter. Tap gently to remove large air bubbles.
Step 9: Bake
Bake using a water bath at 150°C / 300°F for about 60 minutes on the middle-lower rack.
If using a removable-bottom pan, place it on a rack above the water tray instead of directly in the water.
Step 10: Cool & chill
Let the cake cool naturally, then refrigerate for at least 2 hours before eating.
Recipe #3: Light & Refreshing Yogurt Cheesecake
This is my go-to when I want something fresh and not too rich.
| What you’ll need | |
|---|---|
| Cream cheese | 100g |
| Egg | 2 (about 60g each) |
| Yogurt | 160g |
| Butter | 20g |
| Cake flour | 33g |
| Granulated sugar | 30g |
How it goes
Again, the method stays familiar:
Step 1: Separate the eggs
Separate the yolks and whites carefully, and refrigerate the whites.
Make sure there’s no yolk in the whites. Even a tiny bit will make them hard to whip.
Step 2: Soften the cream cheese
Soften and beat the cream cheese until completely smooth.
Step 3: Add the egg yolks
Add the egg yolks and mix until fully combined.
Step 4: Add yogurt
Mix in yogurt until smooth.
Step 5: Add melted butter
Mix in gently melted butter
Step 6: Add the flour
Sift in the cake flour and mix until smooth.
Step 7: Whip the egg whites
Whip the egg whites while adding sugar in three stages, until soft peaks form. Avoid stiff peaks to reduce the chance of cracking.
Step 8: Fold gently
Fold ⅓ of the egg whites into the batter, then gently fold everything into the remaining whites.
Step 9: Prepare the pan
Preheat to 150°C / 300°F, line the pan, grease the sides, pour in the batter, and tap gently to release air bubbles.
Step 10: Bake
Place the pan in a tray with about 1cm of hot water. Bake it at 150°C / 300°F for about 60 minutes on the middle-lower rack.
If your pan has a removable bottom, don’t place it directly in water; set it on a rack over the water tray instead.
Step 11: Cool & chill
Let the cake cool naturally, then refrigerate for at least 2 hours before slicing.
Final Notes
A few important things to keep in mind when making light cheesecake:
Firstly, oven temperatures vary, so keep an eye on the color. If the cake browns too quickly, cover it loosely with foil. If it looks too pale, you can slightly increase the heat for the last 5 minutes. If the cake feels too soft after baking, let it rest in the warm oven for 10 to 20 minutes.
Any butter, yogurt, or milk listed in the recipe should be at room temperature before mixing. Using cold ingredients straight from the fridge can cause the cream cheese to seize up and turn lumpy. If it’s very cold where you are or if you accidentally add a cold ingredient and the batter starts to look grainy, don’t panic. Simply place the bowl of batter into a larger bowl filled with warm water and gently mix over the water bath until everything smooths out again. Just be careful not to let any water get into the batter.
All recipes are for 6-inch pans. For 8-inch pans, double ingredients, and bake 175°C (350°F) for 30 minutes, then 150°C (300°F) for 30 minutes
Finally, always chill at least 2 hours before eating. Light cheesecake has a high moisture content. Once chilled, the texture becomes incredibly smooth, soft, and melts in your mouth.
Happy baking and enjoy every bite!
Leave a Reply