
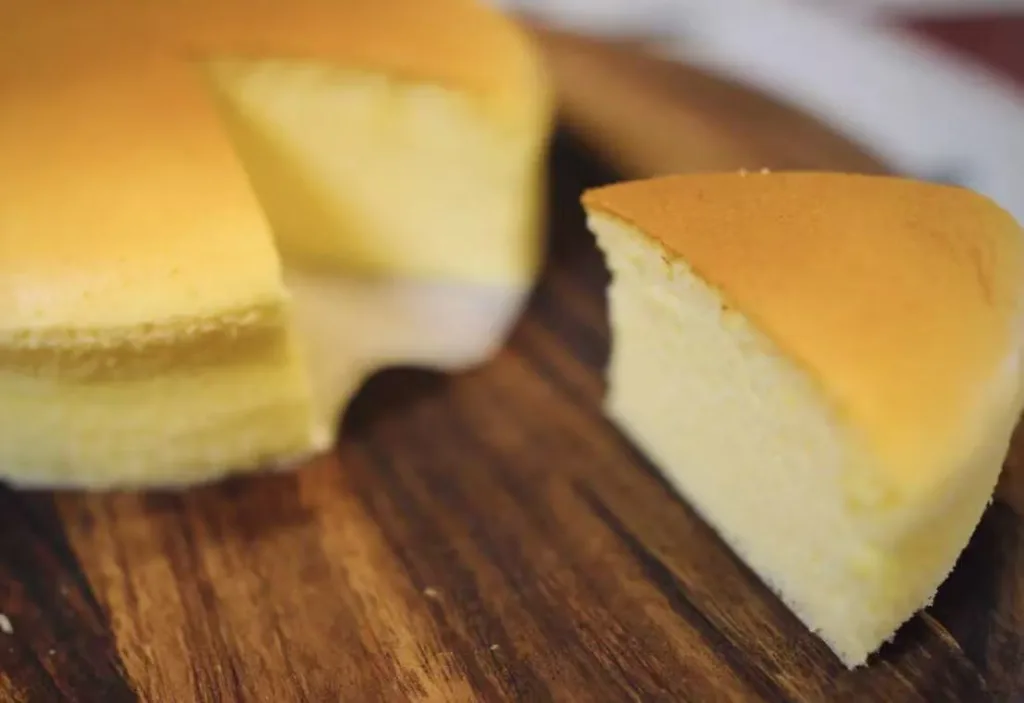
If you ask me to recommend one cheesecake recipe I never get tired of, this is it.
This Hanjuku cheesecake is soft, creamy, and rich but not heavy. The recipe makes two 6-inch cakes, or one 8-inch cake. If that feels like too much, no worries; just cut everything in half and make one 6-inch cake instead.
Ingredients
| Cheesecake Batter | |
|---|---|
| Cream cheese | 250g |
| Eggs | 5(about 60g each) |
| Greek yogurt | 75g |
| Heavy cream | 100g |
| Cake flour | 45g |
| Granulated sugar | 55g |
| Lemon juice | 5g |
| Homemade Glaze | (Optional) |
|---|---|
| Honey | 18g |
| Water | 4g |
| Lemon juice | 2g |
Step-by-Step
Step 1: Separate the eggs
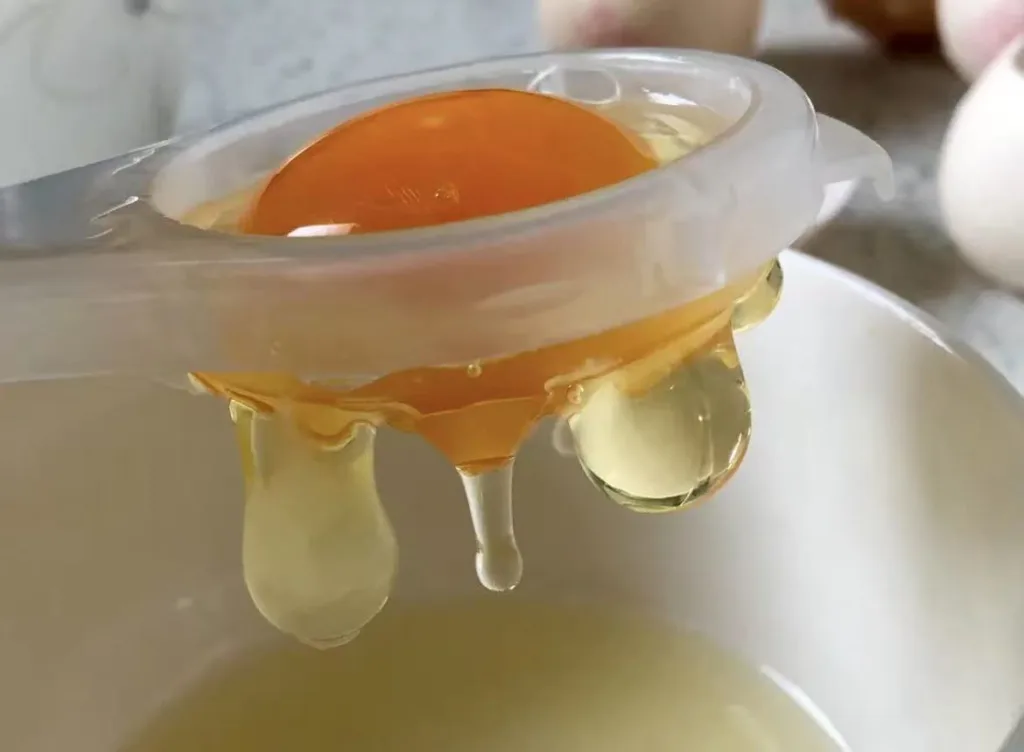
Start with 5 eggs. Separate the yolks and whites carefully. Then put the egg whites straight into the fridge.
You can use an egg separator or clean, dry hands. Just make sure there’s no yolk in the whites. Even a tiny bit will make them hard to whip. If that happens, scoop it out completely with a spoon.
Step 2: Soften the cream cheese
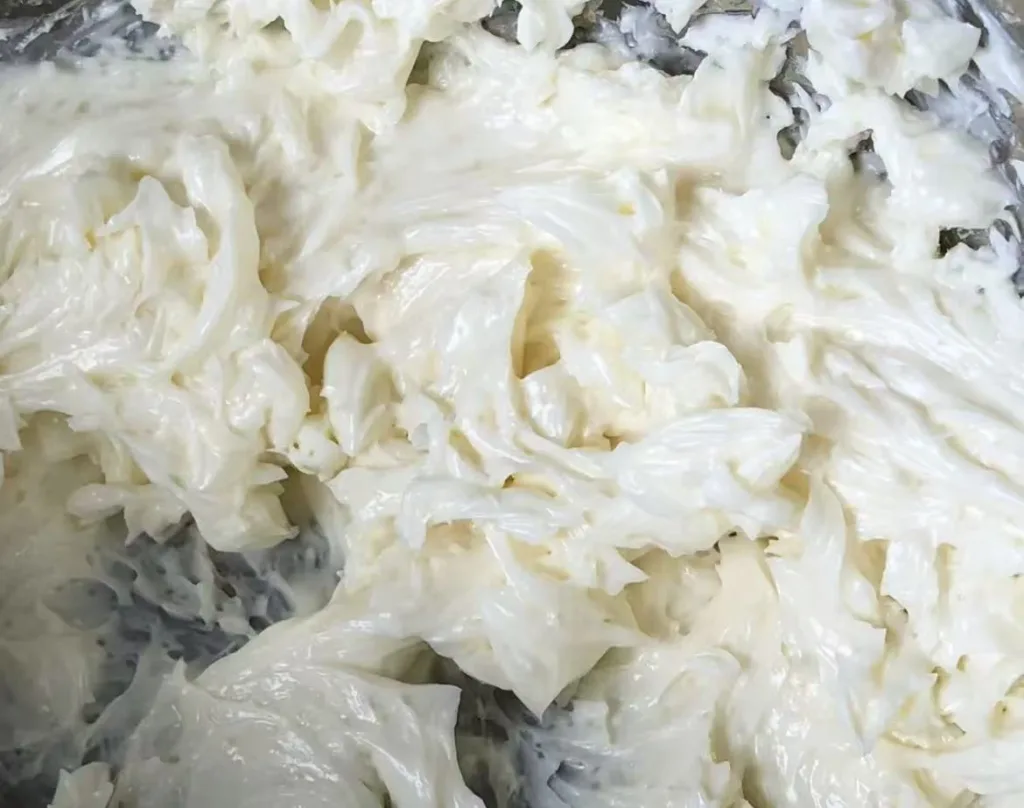
Let the cream cheese come to room temperature. Cut it into chunks, put it in a bowl, and beat it with a hand mixer until smooth and creamy.
If you’re short on time or the weather is cold, you can soften it over a warm water bath or microwave it on low for about 30 seconds, then beat.
Quick tip: Cream cheese loves to splatter. Starting on low speed and using a deeper bowl helps keep your kitchen clean.
Step 3: Add egg yolks
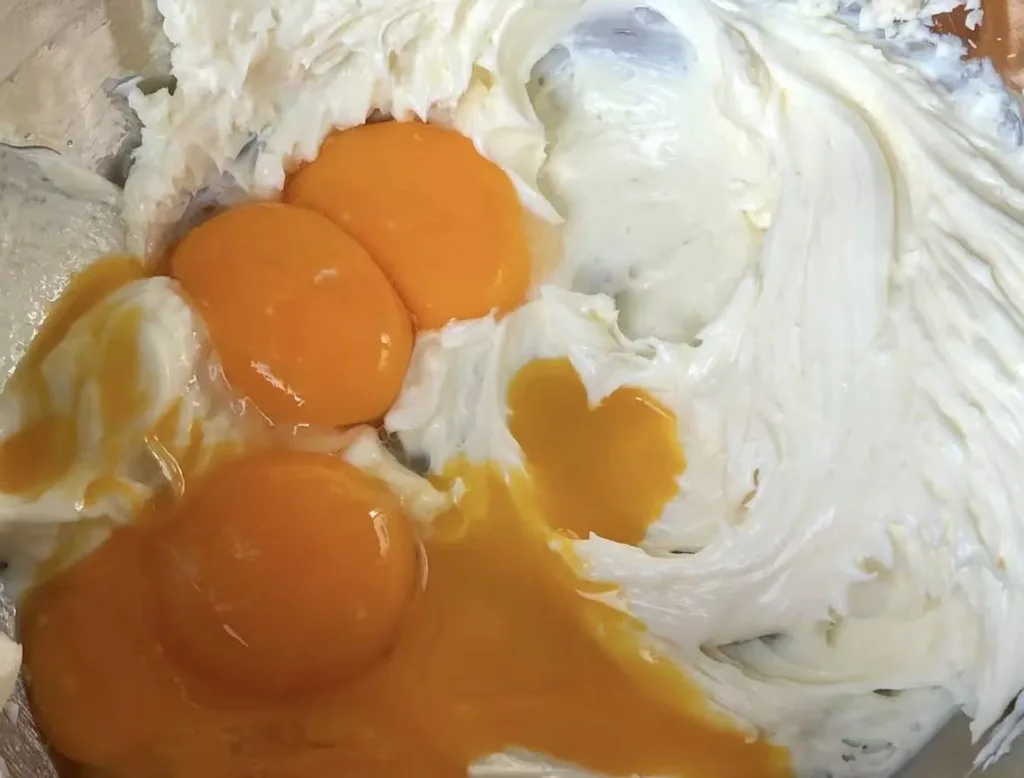
Add the 5 egg yolks, and mix until smooth. Stop once or twice to scrape down the sides and bottom of the bowl. You want everything evenly mixed.
Step 4: Add heavy cream
Pour in 100g heavy cream and mix until smooth.
Step 5: Add Greek yogurt
Add 75g Greek yogurt and mix again. At this point, the batter should already look silky.
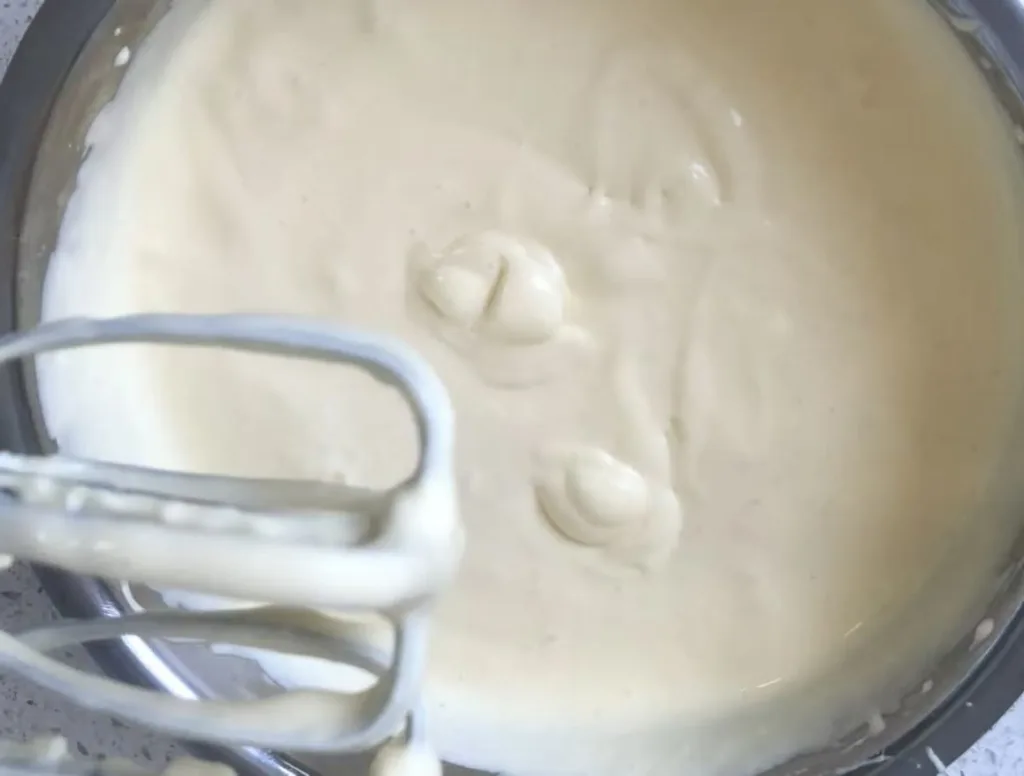
Step 6: Add flour
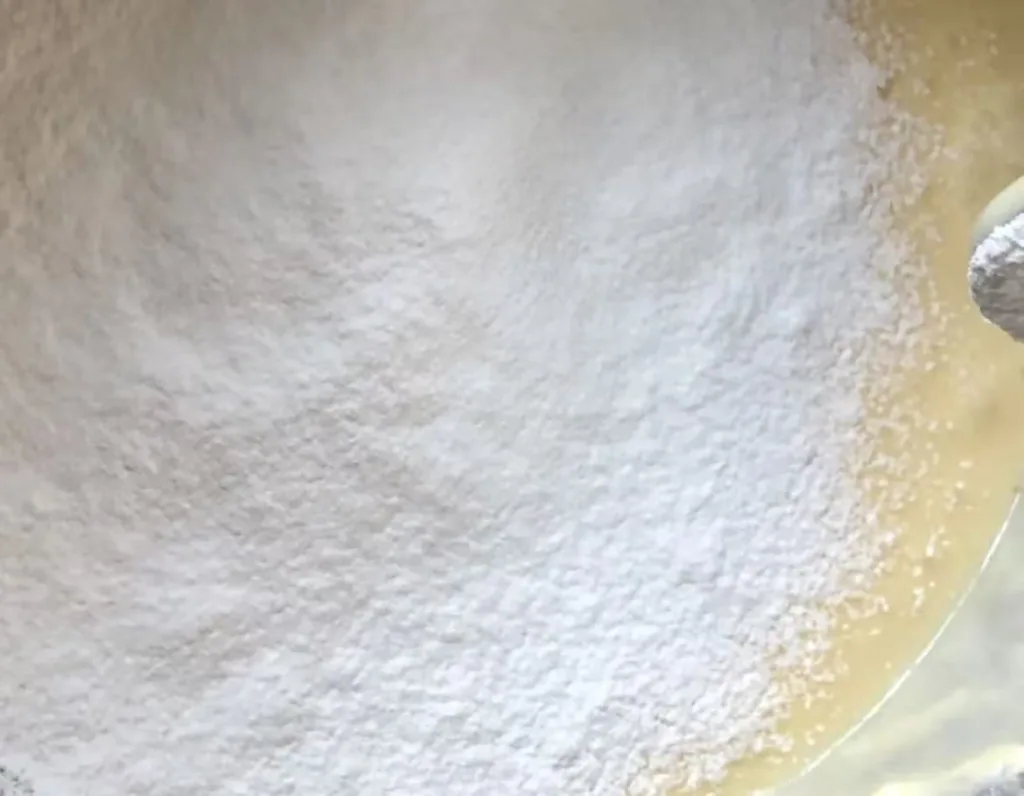
Sift 45g cake flour into the bowl and mix until just combined.
Now your cheesecake batter is done. It should be smooth and glossy. If you see small lumps, just strain it once, and it’ll be perfect.
Step 7: Whip the egg whites
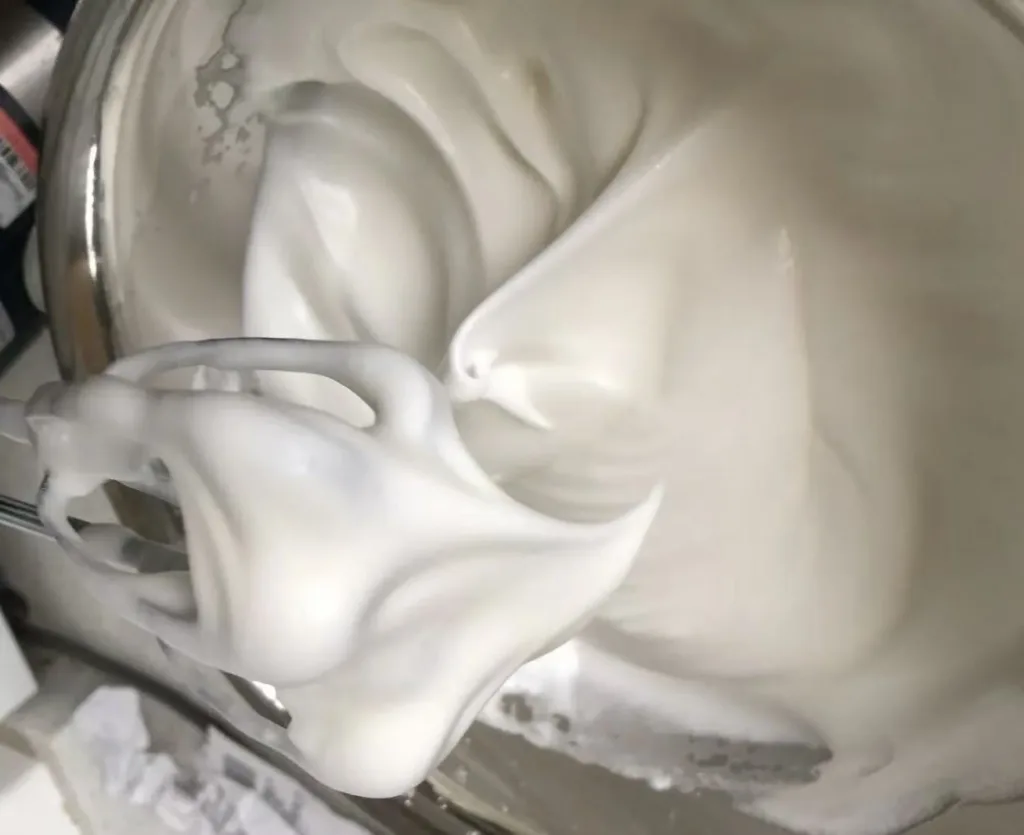
Take the egg whites out of the fridge.
Use a clean, dry bowl and whisk. Add the lemon juice, then whip the whites while adding the sugar in three stages. Stop when you reach soft peaks with a big curved tip.
You can add sugar all at once, but adding it gradually makes whipping faster and more stable.
Important: Don’t over-whip. If you whip the egg whites to stiff peaks, the cake is more likely to crack.
Step 8: Fold gently
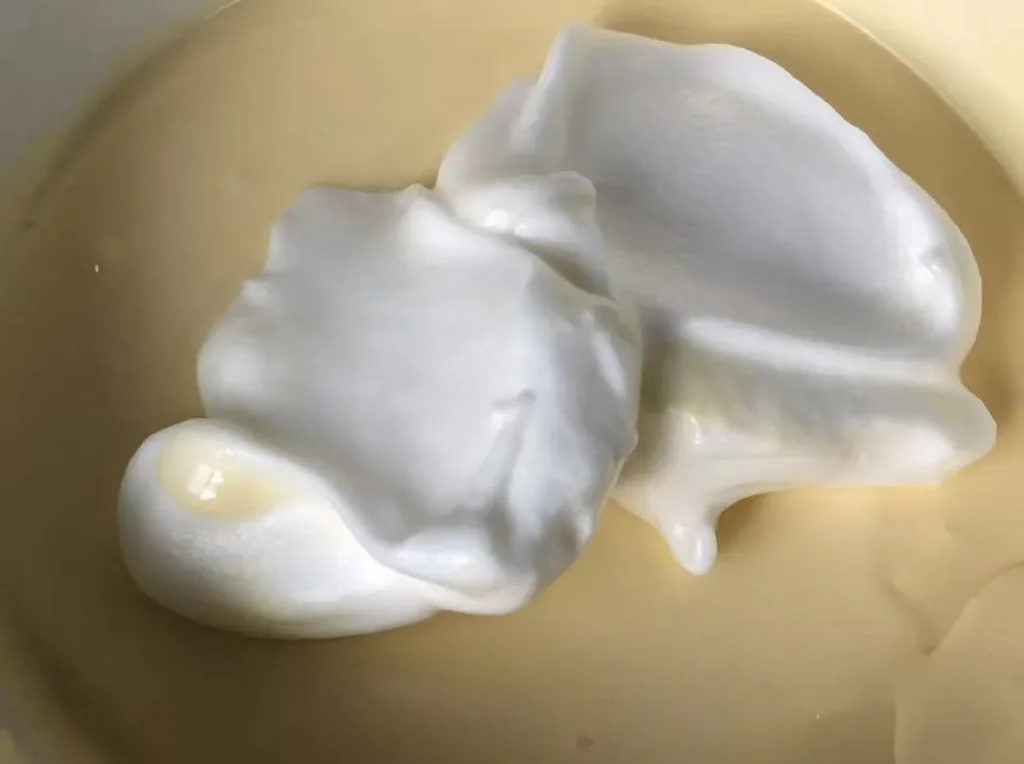
Add 1/3 of the whipped egg whites into the cheesecake batter and gently fold. Then pour the mixture back into the remaining egg whites and fold until just combined.
Step 9: Prepare the pan
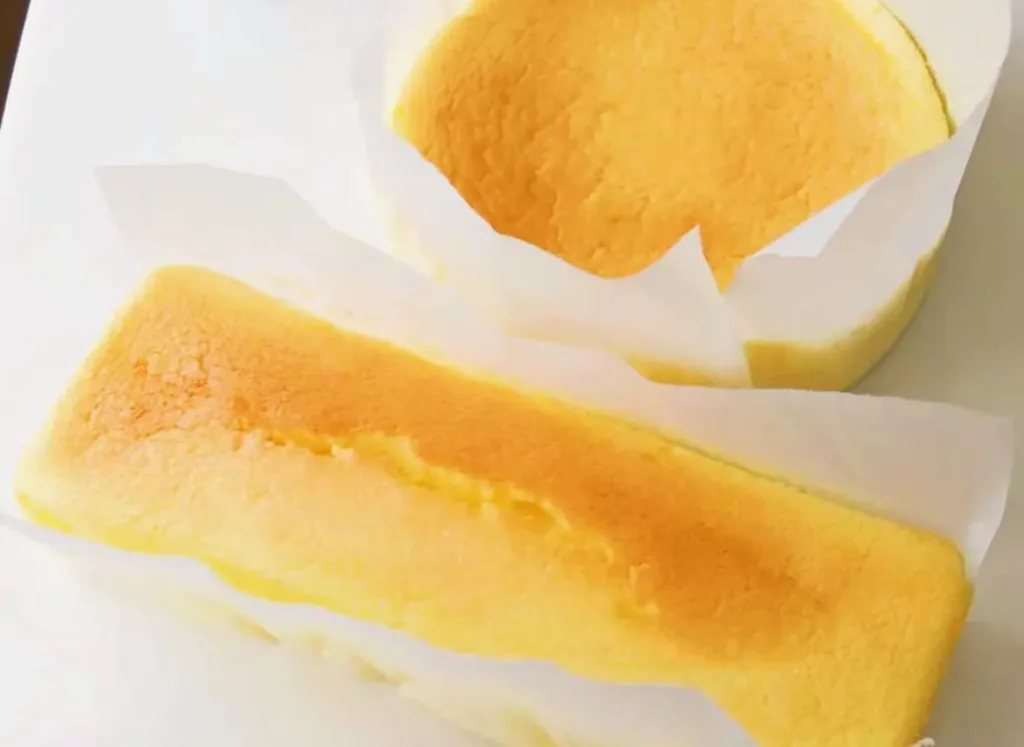
You can use two 6-inch pans or one 8-inch pan
Line the bottoms with parchment paper, then pour in the batter evenly. After this, tap the pans lightly on the counter 5 – 6 times to release large air bubbles.
Step 10: Preheat the oven
Preheat your oven to 150°C / 300°F.
Step 11: Bake using a water bath
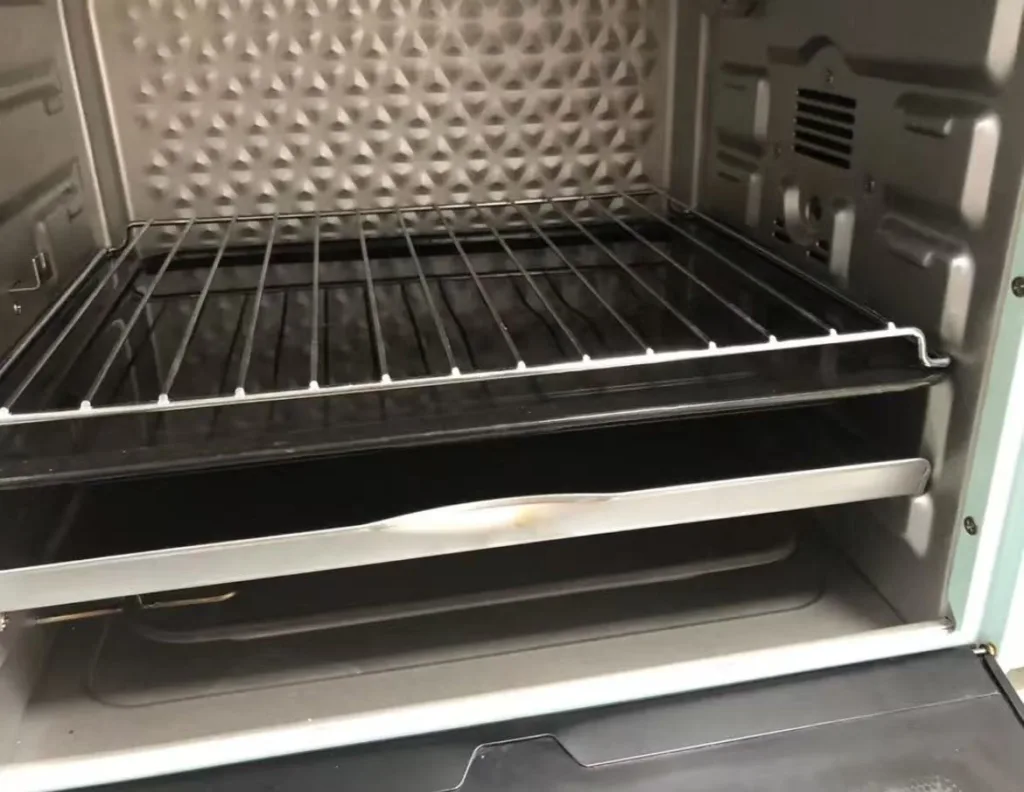
This cheesecake must be baked using a water bath.
For 6-inch pans:
- Add about 1cm of hot water to a large baking tray
- Place the cake pans inside
- Bake at 150°C (300°F) for 60 minutes, middle-lower rack
For one 8-inch cake:
- Bake at 175°C (350°F) for 30 minutes
- Lower to 150°C (300°F) and bake another 30 minutes
- Cover loosely with foil if it starts to brown too quickly
If you’re using a removable-bottom pan, don’t place it directly in water. Either wrap it tightly with two layers of foil or place it on a rack above a water-filled tray.
Oven temperatures aren’t always accurate, so keep an eye on the color. So while baking, check the color of the cake: If it gets too dark, cover loosely with foil. And if it’s too pale? Raise the temperature slightly for the last 5 minutes.
If the cake still feels too soft, turn off the oven and leave it inside for 10 to 20 minutes.
Step 12: Optional glaze (but so pretty!)
Mix 18g of honey, 2g of lemon juice, and 4g of water, and microwave for 30 seconds.
Brush the glaze onto the cake while it’s still hot. You can brush multiple layers for extra shine.
Let the cake cool, then refrigerate for at least 2 hours before eating.
Important Notes (Please Read!)
I’ve made this cake quite often, and here are a few key reminders:
- Egg whites should be soft peaks with a big curve, not stiff.
- Cream cheese cannot be substituted (brand doesn’t matter).
- How do you know it’s semi-soft? Gently shake the pan; it should jiggle slightly.
- Must chill at least 2 hours. Overnight is even better. Hot and cold versions taste completely different, and trust me, the chilled version is where the magic happens.
- Cracks mean the oven temperature was too high. If you see cracks while baking, lower the temperature immediately.
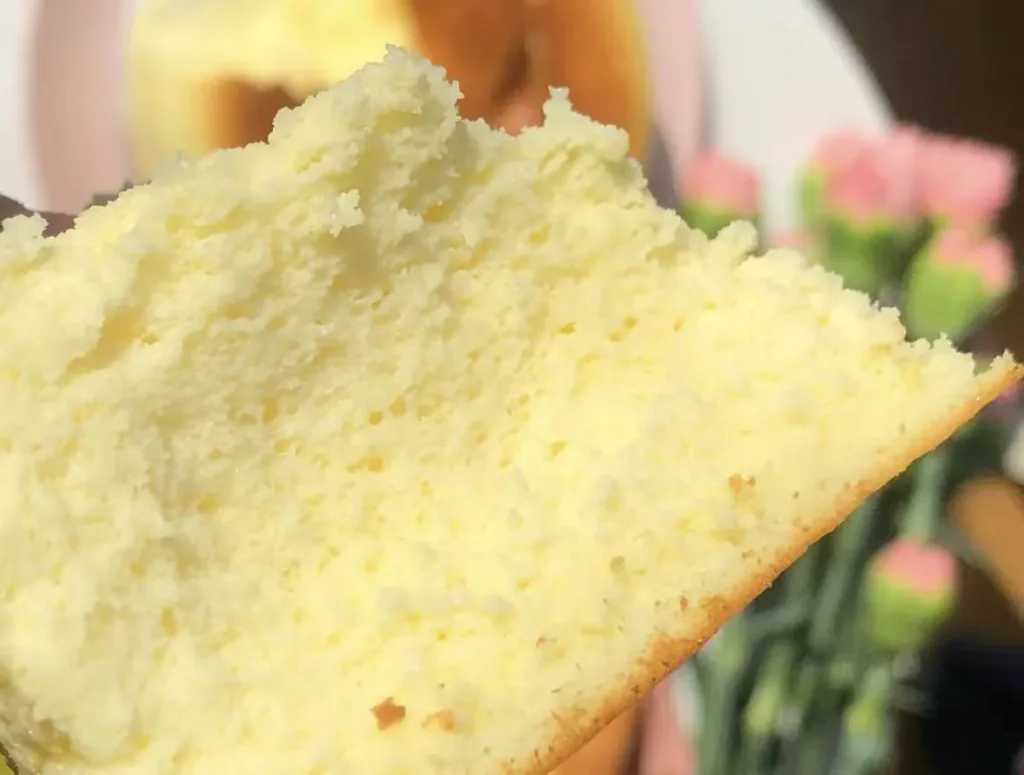
- A slightly underbaked center is the point. This is a semi-soft cheesecake.
- Chill it first before judging the texture.
Once chilled, the cake becomes incredibly smooth and creamy, melts in your mouth, and delivers a rich, full cheesecake flavor.
If you try this recipe, let me know how it turns out. I’d love to hear about it!
Leave a Reply